How to input the thumb hole information for an oval.
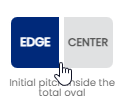
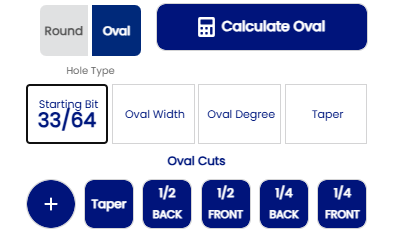
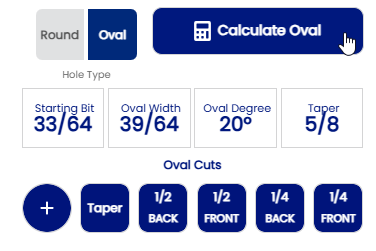
1. This section of the spec sheet is for entering all of the thumb information. When you select an option, make sure the option you want is highlighted in dark blue. Using "CENTER" will result in the original measured pitch being in the center of the hole.

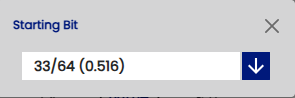
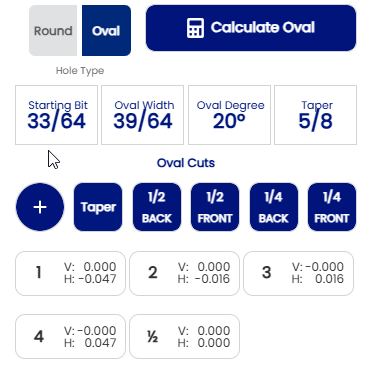
The starting bit is the the drill bit you use to make the oval thumb and it represents the front to back measurement of the oval. When you click on "Starting Bit", a selection box will open. Click on the down arrow and select the starting bit size.

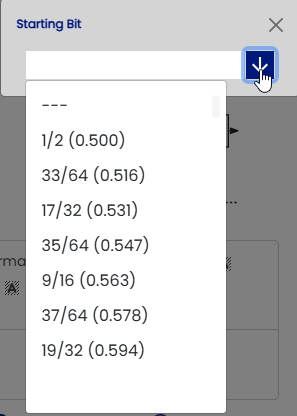
When starting bit is selected, the selection box will close and the size you chose will be displayed.
Example:
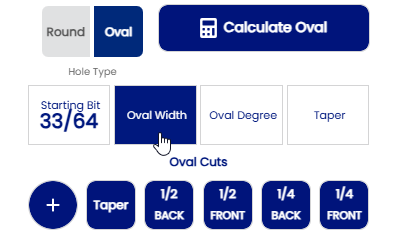
The next step is to choose the width of the oval. When you click on "Oval Width", the selection box will again appear. Click on the down arrow and choose the oval width, which is the measurement of the thumb at it's widest point (side to side).
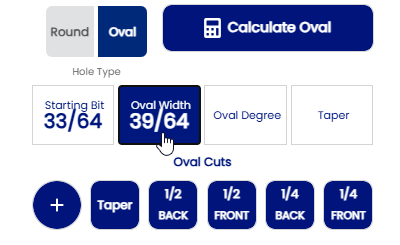
When you make your selection, the box will close and the oval width will be displayed.
Example:
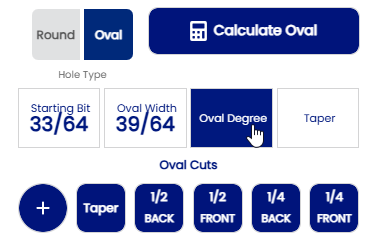
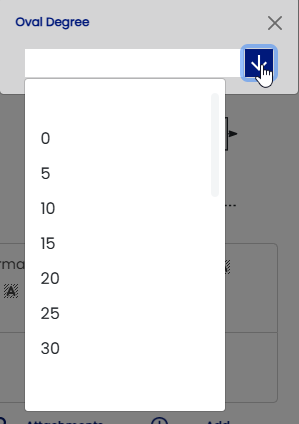
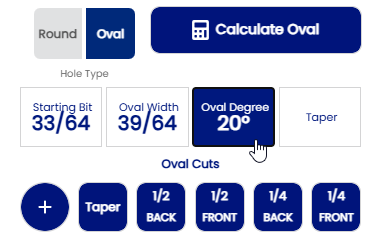
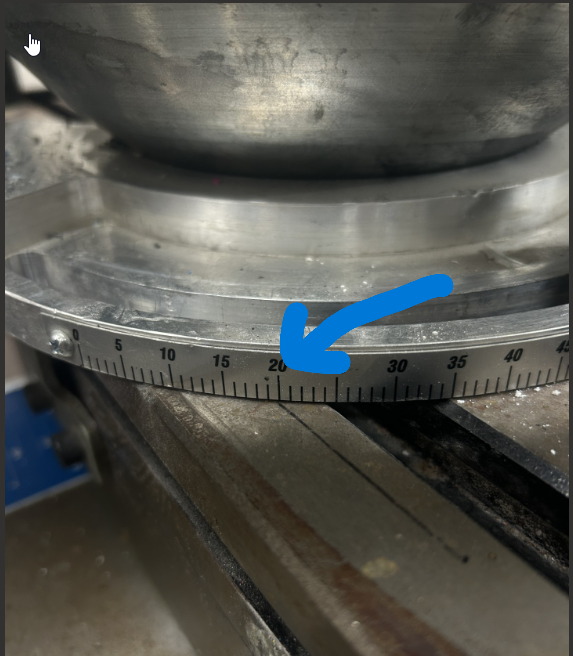
The next step is to choose the angle of the oval. Click on the button that says "Oval Degree". Once again, a selection box will open so you can choose the oval degrees from the drop down list (to the nearest 5 degrees). Once you have made your selection, the box will close and your oval degrees will be displayed.
Example:
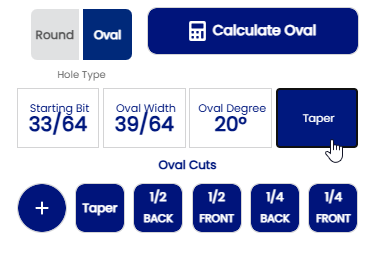
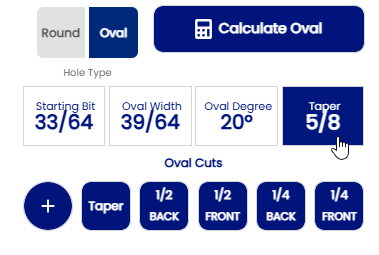
The Taper is the final step of the thumb information. Click on "Taper" and when the selection box opens, click on the down arrow. Once you have made your selection, the box will close and the amount of taper will be displayed.
Example:

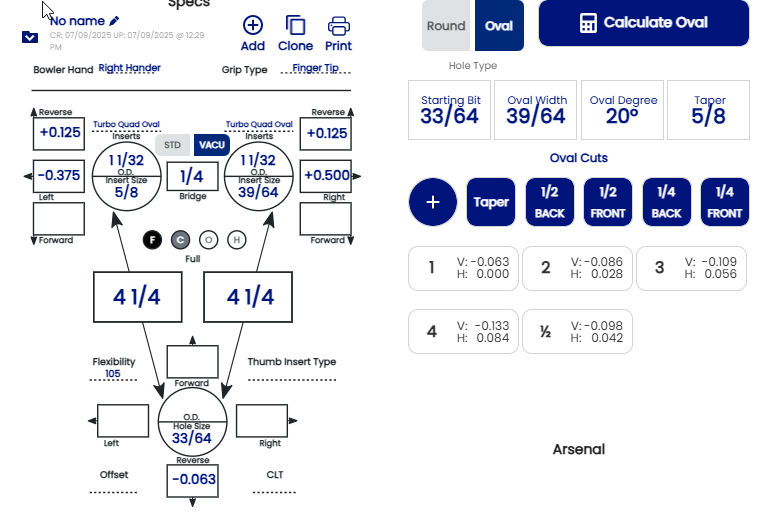
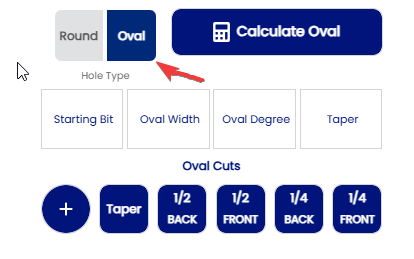
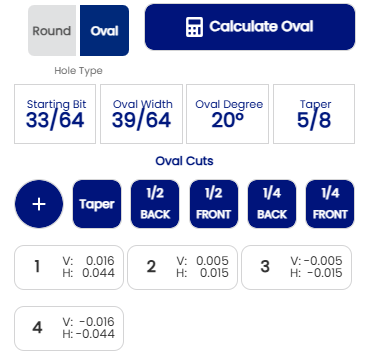
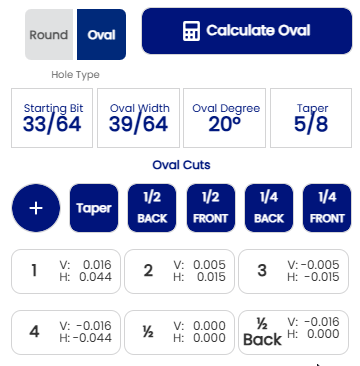
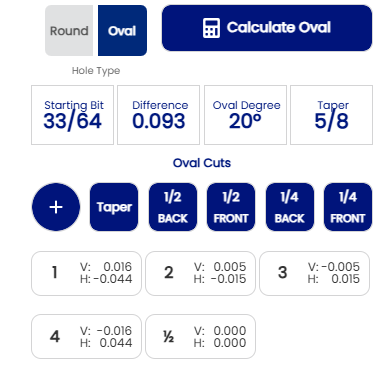
When all thumb information has been completed, click on "Calculate Oval". The program will then automatically display the vertical and horizontal coordinates of each cut needed to create your oval.
Example:
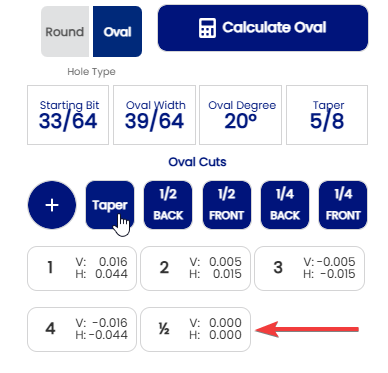
Click on "Taper" button to add the cut necessary to do the taper if a taper is indicated . The cut will be displayed 1/2.
Example:
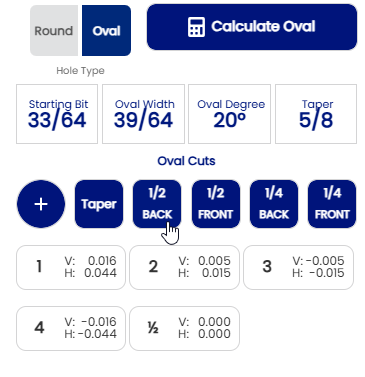
Some bowlers may have some bumps above their thumb . If they have , click on the 1/2 back, 1/2 front, 1/4 back or 1/4 front buttons to add some extra small cuts necessary to produce a custom fit. All those selections are optional!!!
EX:
You can also create your oval thumb shape using a decimal measurement. Here’s an example, using the one above:
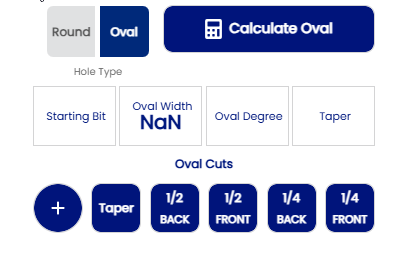

Oval width 39/64 = ( 0.609 )


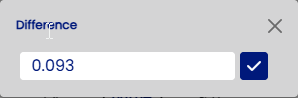
You can also work on building your oval using the decimal difference option. This will calculate the difference between the size of your oval and your starting drill bit. Here is the same example:
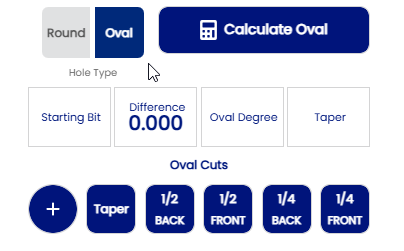
Oval 39/64 = ( 0.609) then 0.609 - 0.516 =0.093
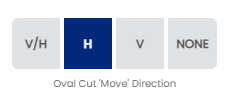
Another option for creating your oval, for those of you who have a rotating jig, is making horizontal cuts only. First, you need to set your table to the determined angle, then make your oval cut in the horizontal direction. Here's an example:
The EDGE option is also for those who start from the edge of the thumb. Here is an example showing how everything is calculated from V/H cut. Using the "EDGE" setting will result in your original measured pitch be in the front (first cut) of the thumb hole.