How to input the thumb oval information.
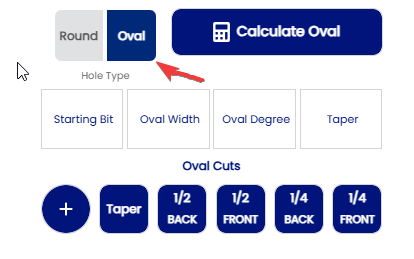
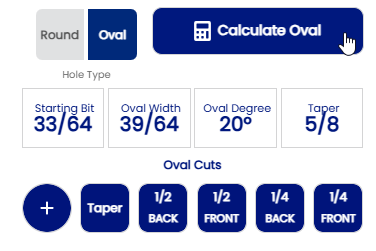
1. The type of thumb information is found on this section of the spec sheet . To proceed to measuring an oval thumb the selection of the hole type must be in dark blue .
The starting bit is the the drill bit you use to make the oval thumb. When you size is selected you wrote on the Starting bit section

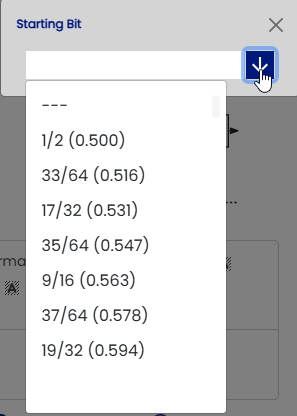
When is drill selection is maded, it will appear on Starting bit section.
ex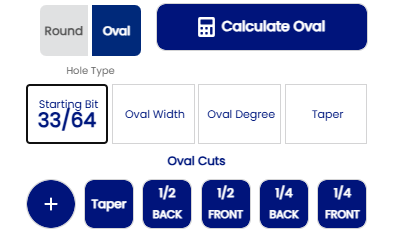
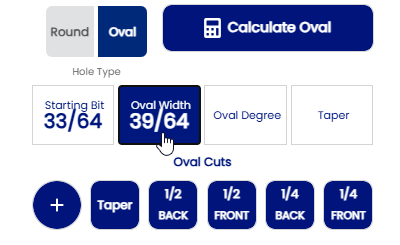
The next step is to find to oval width of the thumbs . When the oval width is found , the click the oval width section .
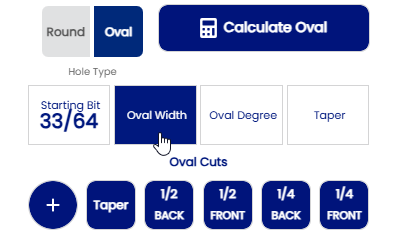
Processing is the same as the starting bit section . When the oval width is selected then wrote in the oval width section
EX:
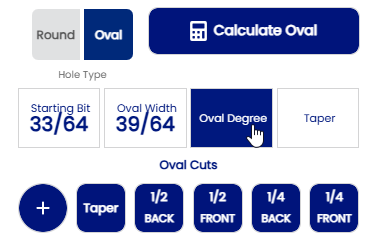
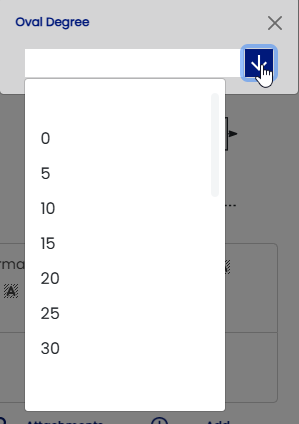
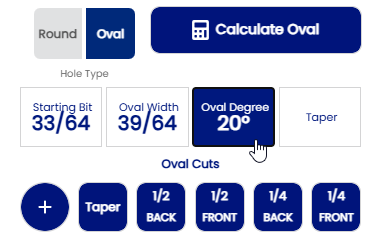
The oval degree is the next step . When your oval degree is found, then you click on Oval Degree section
EX:
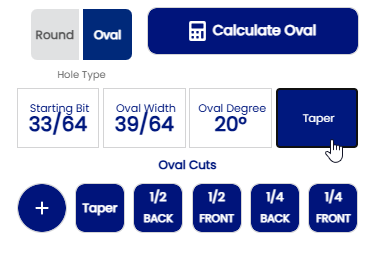
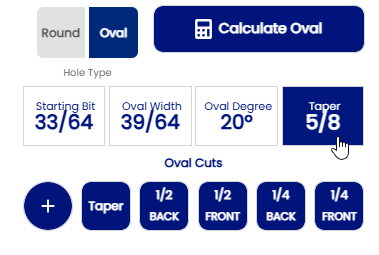
The Taper is the final step of the thumb information . The taper information must be indicated on Taper section
EX:

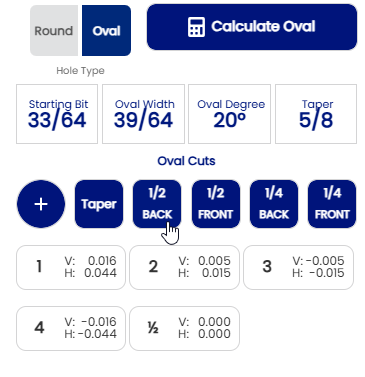
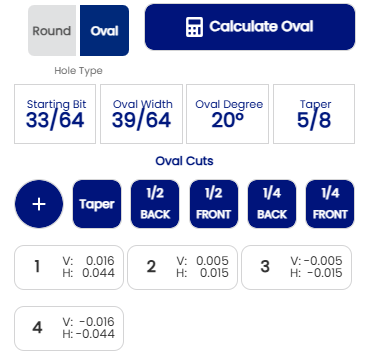
When all information on your thumb is completed. Click on "Calculate Oval" in order to find all your cut necessary to produce you thumb. That will give automatically your cut to do !
EX:
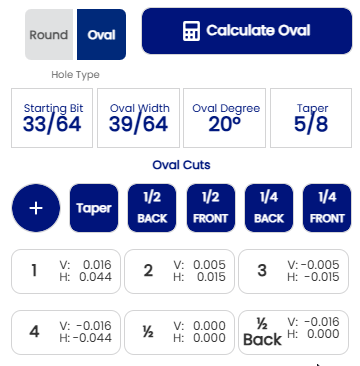
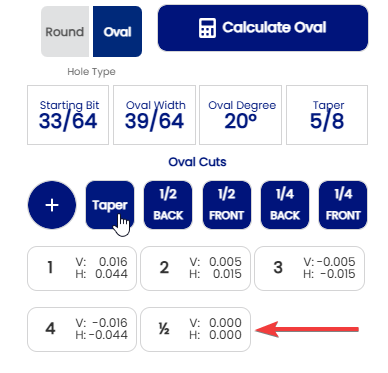
Click on "Taper button to add the cut necessary to do the taper if taper is indicated . The cut will be mentionned 1/2cut2 cut
EX:
Some bowlers may have some bumps above their thumb . If they have , click on 1/2 back , 1/2 front , 1/4 back , 1/4 front section to add some cut necessary in order to produce the thumb properly .All those section are optional !!!
EX: