Preparation for drilling
Process
There are 3 separate processes that have to be achieved in order to drill a ball for a bowler.
First, we need the measurements for the bowler’s hand, whether that is copying previous measurements, or taking new ones (see chapter – Fitting).
Second, we need to know where on the ball surface we are going to drill the holes (Yes, it does matter). Determining the location of the holes (see chapter – Layouts).
Third, is the process of physically drilling the holes in the ball. We will cover that step by step in this chapter, and we will assume that you already have the measurements and that it has already been determined where you want to drill the holes.
Prepare necessary equipment and tools
Milling machine / Drill press - Make sure it's clean when you start the job and that the pitches have been calibrated.
Drill bits - Make sure they have been sharpened recently.
Ruler - Span ruler that is accurate to at least 1/16" - Having a post to secure it can be handy.
Bevel sander - We recommend putting on a new sanding disc for every ball you drill for consistency.
Grease pencils / pinpoint scriber - For drawing the reference lines on the ball. If you want to use a scriber, make sure it's ok with the customer.
Instant cure glue - For installing finger inserts, thumb inserts, thumb slugs and interchangeable thumbs.
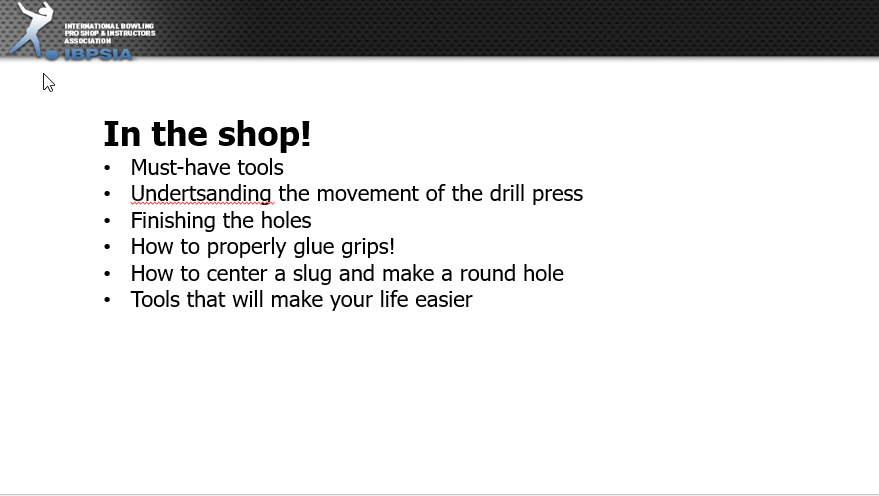
In the shop
-Here are the important things to keep in mind in order to drill your bowling ball !!!
. Must-have tool
. Understanding the movement of the drill press
. Finishing the hole
. How to properly glue grips
. How to center a slug and make a round hole
. Tools that will make your life easier