| Shop Type | Recommended Default | Reason |
|---|---|---|
| Competitive / league-focused shop | Fingertip | Majority of sport bowlers use fingertip grip |
| Family or recreational shop | Conventional | Beginners and casual bowlers typically use conventional |
| Mixed clientele | Fingertip | Fingertip is the Spectre Cloud factory default and suits most shops |
| Situation | Recommended Setting | Reason |
|---|---|---|
| Precision fitting for competitive bowlers | 1° increments | Allows exact oval angles when bowler fit requires it |
| High-volume shop, recreational clientele | 5° increments | Speeds up entry — most recreational ovals land on a 5° boundary anyway |
| New driller learning the oval workflow | 5° increments | Fewer options reduces decision fatigue during training |
| Shop that copies angles from legacy paper sheets | 1° increments | Legacy sheets may record non-round angles that need exact matching |
| Shop Situation | Recommended Default | Reason |
|---|---|---|
| Most pro shops — general clientele | STD | Standard glue installation is the industry norm for the majority of fittings |
| Shop specialising in VACU Grip fittings | VACU Grip | Saves time if VACU is your predominant installation method |
| Mixed clientele — both methods used regularly | STD | STD is more common; override to VACU on a per-sheet basis when needed |
| [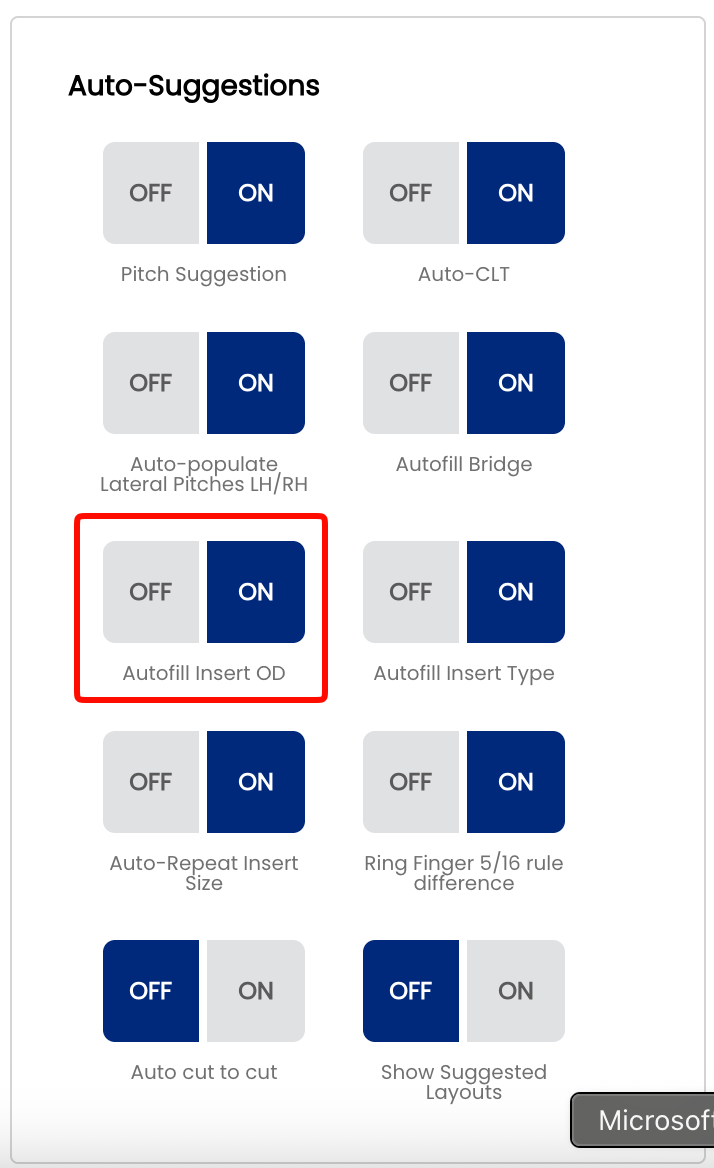](https://wiki.spectrebowling.com/uploads/images/gallery/2026-05/gPhimage.png) | [](https://wiki.spectrebowling.com/uploads/images/gallery/2026-05/L0Oimage.png) |
| Situation | Recommended Increment | Reason |
|---|---|---|
| Most bowlers — standard VACU fitting | 1/16" | The industry standard for VACU installation — full expansion room, natural rubber feel |
| Bowler wants slightly less springiness | 3/64" | Marginally tighter fit with a more controlled feel |
| Bowler prefers a firmer insert feel | 1/32" | Reduced expansion room, noticeably less rubber flex |
| Bowler wants minimal rubber springiness | 1/64" | Tightest fit — the insert has very little room to expand |
| Situation | Recommended Format | Reason |
|---|---|---|
| Shop measuring to sixteenth precision, minimal scrolling preferred | 16S | Fewest values in the list — fast to navigate |
| Shop wanting 32nd precision in a readable format | 16S+ | 32nd-level precision expressed in a shorthand that is easier to read and communicate than thirty-second fractions |
| Shop recording spans in thirty-seconds, prefer standard fractions | 32ND | 32nd increment with values shown as simplified fractions — familiar and clean |
| Precision fitting, competitive bowlers, very fine adjustments | 64TH | Maximum precision — use when sixty-fourth resolution is needed |
| Situation | Recommended Format | Reason |
|---|---|---|
| Shop wanting 32nd precision in a readable format | 16S+ | 32nd-level precision expressed in a shorthand that is easier to read and communicate than thirty-second fractions |
| Shop recording pitches in thirty-seconds, prefer standard fractions | 32ND | 32nd increment with values shown as simplified fractions — familiar and clean |
| Precision fitting, competitive or high-performance bowlers | 64TH | Maximum fractional precision — captures intentional small pitch adjustments accurately |
| Shop using digital pitch gauges or calipers | Decimal | Enter and read the same format your measuring tool outputs — no conversion needed |